Introducing The Gator Family Club Maintenance Program
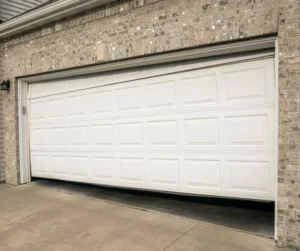
We know life with a family is super busy – between rushing to work, getting the kids ready for school, and juggling everything else, you’ve got a lot on your plate. That’s why a dependable garage door is so important. It makes your daily life easier, whether grabbing the car for a quick errand, finding school bags, or organizing the family’s sports gear.
Regular garage door check-ups are a must to keep things running smoothly. They help prevent those annoying breakdowns that can throw a wrench in your already-packed schedule. Think of it as a little insurance against those unexpected hiccups that can slow you down. Stay ahead of the game and keep your family’s routine on track with a garage door that’s always ready to go!
The Gator Family plan benefits customers by providing convenience, cost savings, priority service, and peace of mind during the year. It helps you proactively maintain your garage doors and avoid unexpected repair expenses, all while enjoying exclusive discounts and automatic renewal options. Gator Garage Doors has over 2000 5-star reviews. We aim to help you maintain your door so you won’t miss any of your daily adventures.
The Gator Family yearly plan offers several benefits to customers, making it an attractive option for those who have garage doors and want to ensure smooth and efficient operation. Here are the key benefits for customers:
What is included in the Gator Family Plan
- Priority Booking
- Surge Protector (one)
- 10% discount on all approved service estimates
- Includes one tune-up on one door per year
- Each additional door is $50.00.
- Don’t worry about scheduling your yearly maintenance – we’ve got it covered.
- Members only specials
- Your membership conveniently auto-renews
- Hassle-free payments with financing options available
- Cancel at any time without losing out – you’ll continue to relish full benefits until your membership year ends.
During a Maintenance Check, our Technicians do the following:
At Gator Garage Doors, we believe in proactive care for your garage door system. As part of our yearly plan, our skilled technicians perform a thorough 23-point inspection, testing, and routine maintenance to ensure your garage door’s continued reliability and safety.
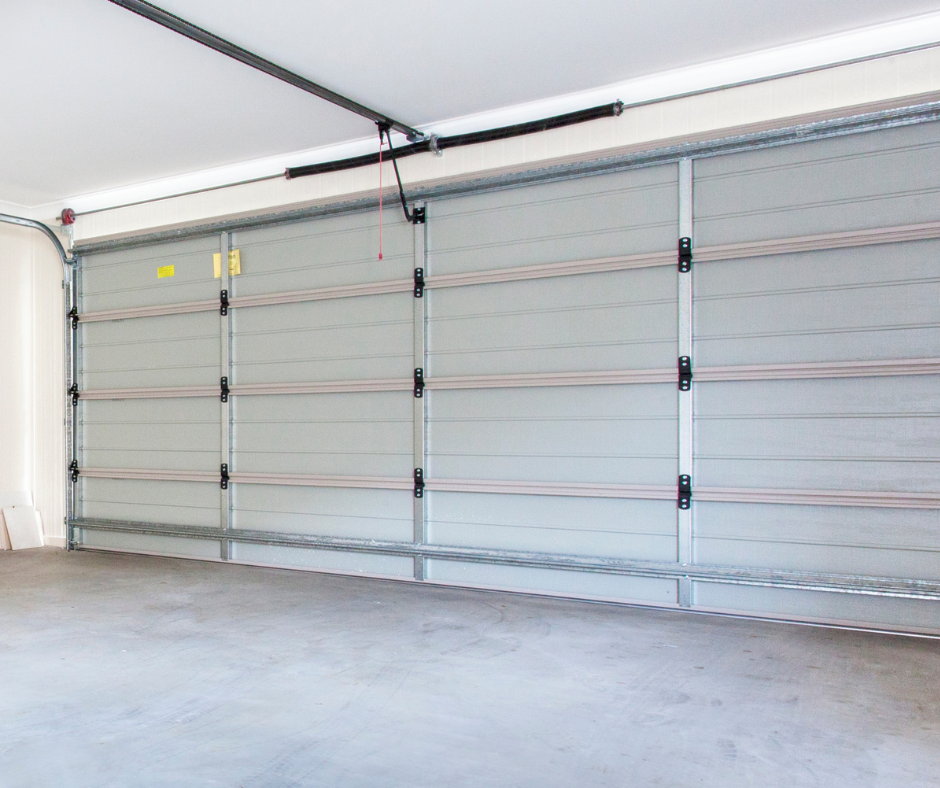
Our meticulous inspection covers every aspect of your garage door system, from springs and cables to rollers, sensors, and more. We leave no stone unturned in identifying any potential issues or worn-out parts that may require attention.
When a Technician at Gator Garage Doors does an inspection, they look at the following on your garage door and opener:
Garage Door Inspection
-
- Panels, Windows, Inserts
- Frame, Jambs, Wood Trim
- Inspect the Weather Strip for Wear or Damage
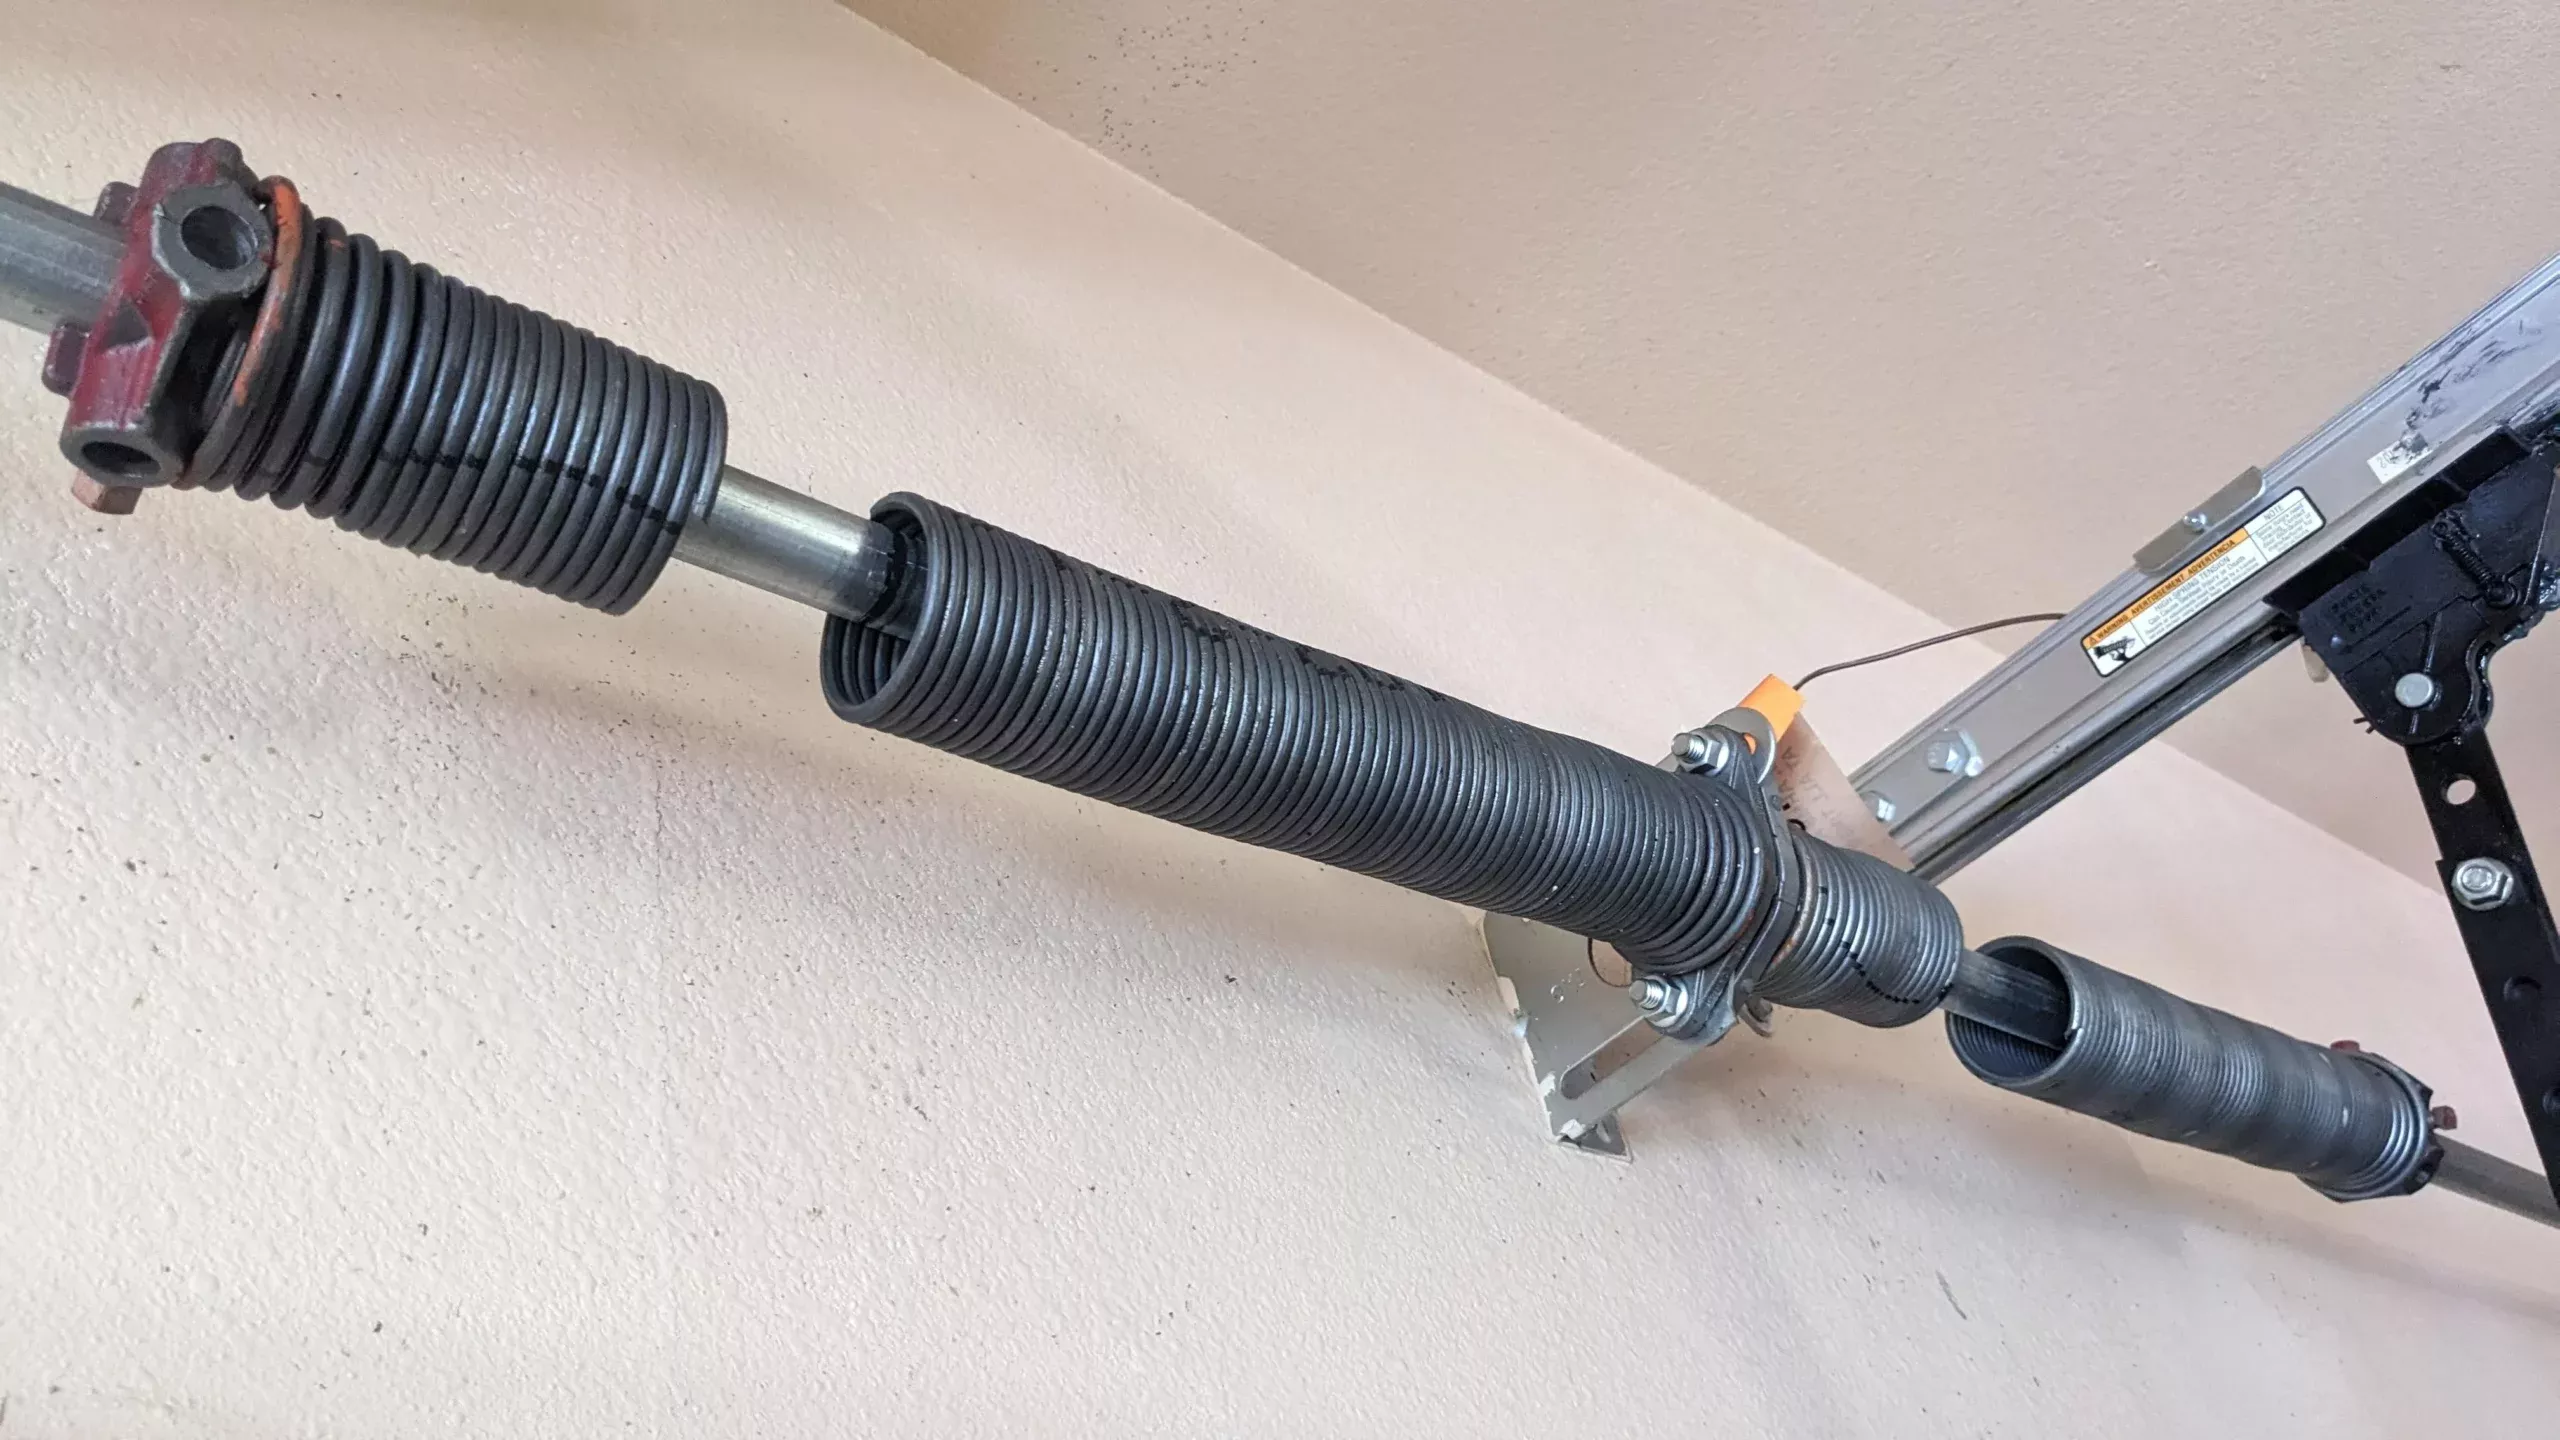
- Inspect, Adjust, and Lubricate Springs
- Inspect Cables for Wear or Damage
- Inspect & Lubricate All Rollers
- Inspect & Lubricate Center Bearing Plates and Bushings
- Inspect & Lubricate the End Bearing Plates and Bearings
- Inspect, & Tighten Hinges & Hardware
- Inspect the Tension Spring Mounting Pad for Cracks and splits
- Inspect the Bottom Brackets
- Inspect the Opener Bracket for Missing or Damaged
- Inspect Locks for Proper Operation
Openers
14. Perform UL 325 Safety Reverse Test
- Inspect for Proper Operation
- Adjust Up & Down Force Sensitivity
- Tighten the Drive Chain/Belt as Needed
- Lubricate Drive Train & All Sprockets
- Check Wiring & Connections
- Set Up & Down Limits As Needed
- Remove Cover & Inspect All Internal Gears & Belts
- Check Transmitters & Push Buttons for Proper Operation & Range
- Check & Adjust Photo-eyes
After the Inspection
- The Technician will first assess the situation and then discuss the findings with the homeowner.
- The Technician will explain what needs to be repaired by presenting three recommended options for addressing the issues.
- The Technicians give the homeowner options to choose what they want fixed.
- The homeowner can choose the best course of action for them based on the Technician’s suggestions.
The Gator Family Plan is only $189./year
Our dedicated technicians will not only conduct the inspection but also take the time to discuss their findings with you, providing a transparent assessment of your garage door’s health. Should any repairs or maintenance be required, we’ll work closely with you to address them promptly and efficiently.
1Join today to start enjoying the numerous benefits offered in the Gator Family Plan. From priority booking for faster service to the added protection of a surge protector, our membership ensures your garage door experience is unparalleled. With a 10% discount on all approved service estimates, routine maintenance, including a 23-point inspection, and auto-renewal convenience, you’ll save time and money while keeping your garage door in top-notch condition.
Plus, our members-only specials grant you exclusive access to additional savings and promotions. Take advantage of hassle-free payments with financing options available, and rest easy knowing you can cancel any time without losing out on benefits. Join us today and redefine your garage door experience! Click Below to sign up for your savings.